


Choosing the Right Cut of Chicken
Before you begin baking, selecting the appropriate cut of chicken is essential for achieving the texture and flavor you want. Bone-in, skin-on pieces such as thighs or drumsticks are great for retaining moisture and adding flavor. Boneless, skinless breasts, on the other hand, cook faster and are leaner, making them a popular choice for lighter meals. Each cut has its advantages, so think about your preferences and needs before starting.
When buying chicken, look for fresh, firm meat with a slight pink hue and no strong odor. If using frozen chicken, ensure it’s fully thawed before baking to promote even cooking. For convenience, many home cooks opt for pre-cut and trimmed pieces, which can save time during preparation.
Here are a few popular cuts to consider:
- Chicken breasts – lean and quick to cook
- Chicken thighs – flavorful and forgiving if slightly overcooked
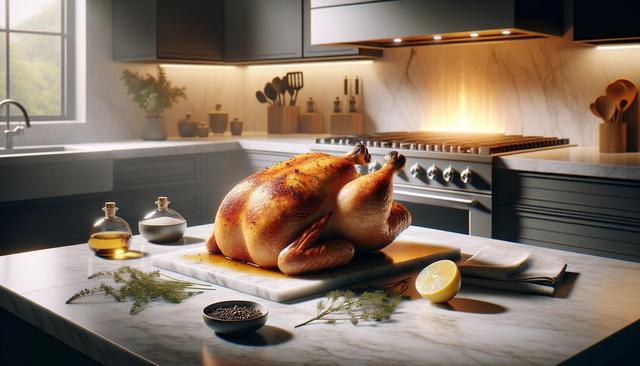
- Whole chicken – economical and suitable for meal prepping
Matching the cut to your cooking time and desired texture helps you get the most out of your baked chicken dish.
Marinating and Seasoning for Flavor
Seasoning is the key to enhancing the natural flavor of chicken. A simple marinade can make a big difference, and it doesn’t have to be complicated. Basic ingredients you likely already have at home—such as olive oil, garlic, lemon juice, and herbs—can create a flavorful base. For those short on time, a dry rub made from common spices like paprika, garlic powder, onion powder, salt, and pepper works well too.
Marinate the chicken for at least 30 minutes if possible; overnight yields deeper flavor. If you’re using a dry rub, apply it evenly and let the meat sit for 10–15 minutes before baking. Be sure not to over-season, especially with salt, as it can draw moisture out of the chicken while it bakes.
Tips for seasoning success:
- Use acid (like lemon juice or vinegar) in marinades to tenderize
- Balance strong spices with milder ones
- Keep an eye on sugar content to avoid burning during baking
Whether you prefer bold spices or subtle herbs, thoughtful seasoning ensures your chicken turns out flavorful and satisfying.
Setting Up for Baking Success
The oven setup can significantly impact the outcome of your baked chicken. Preheating the oven is crucial—typically to 375°F (190°C)—to ensure the chicken starts cooking immediately and evenly. Use a baking dish or sheet pan with a wire rack to elevate the chicken slightly, allowing air to circulate and promoting even browning.
If you’re baking skin-on chicken, placing the pieces skin-side up helps to crisp the skin. Line your pan with foil or parchment paper to simplify cleanup. Avoid overcrowding the pan, as it can cause the chicken to steam rather than bake, resulting in less desirable texture.
Important setup notes:
- Preheat the oven fully before placing chicken inside
- Allow space between pieces for proper airflow
- Use a meat thermometer to monitor internal temperature
These small adjustments to your baking setup can lead to noticeable improvements in the final dish.
Baking Times and Temperature Guidelines
Knowing the appropriate baking times and temperatures for different chicken cuts is essential for juicy, safe-to-eat results. The USDA recommends an internal temperature of 165°F (74°C) for chicken. Using a meat thermometer is the most reliable way to check doneness without cutting into the meat.
As a general guide:
- Boneless breasts: 20–25 minutes at 375°F (190°C)
- Bone-in thighs or drumsticks: 35–45 minutes at 375°F (190°C)
- Whole chicken: 20 minutes per pound plus an additional 15 minutes at 350°F (175°C)
Let the chicken rest for 5–10 minutes after removing it from the oven. This allows juices to redistribute and prevents dryness. If you’re cooking multiple types of chicken at the same time, consider staggering their placement in the oven or using separate pans.
Monitoring both time and temperature ensures your chicken is both safe and enjoyable to eat.
Serving and Storing Baked Chicken
Once your chicken is baked to perfection, it’s time to enjoy it. Serve it alongside roasted vegetables, a fresh salad, or your favorite grain for a balanced meal. You can also slice or shred baked chicken for use in wraps, sandwiches, or pasta dishes throughout the week.
Storing leftovers properly helps maintain quality. Place cooled chicken in an airtight container and refrigerate for up to four days. For longer storage, freeze portions in separate containers or freezer bags for up to three months. Reheat gently in the oven or microwave to preserve moisture.
Ideas for using leftover baked chicken:
- Add to soups or stews for protein
- Use in meal-prep bowls with rice and veggies
- Include in quesadillas or tacos
Repurposing baked chicken not only reduces waste but also simplifies future meals, making home cooking more efficient.
Conclusion
Baking chicken at home doesn’t require advanced skills or complicated tools. With thoughtful preparation, proper seasoning, and attention to cooking times, you can consistently create flavorful and satisfying meals. Whether you’re cooking for one or feeding a family, this simple approach to baked chicken fits a wide range of lifestyles and taste preferences. Use these tips as a foundation, and feel free to experiment with your favorite herbs, spices, and sides to make each meal your own.
